I have been using Jekyll to create websites for a few years now and think it is an awesome and simple to use tool to create static sites.
You can host your website for free using tools such as Netlify so all you need to pay for is for your custom domain name.
I don't recommend using the free domain provided by Netlify [yoursitename.netlify.app] as it won't look professional.
In this guide, I will go through all the steps you need to create and build a Jekyll site from scratch (without using a premade theme). This guide will show you how to build a simple blog website.
Requirements
To follow along and to install Jekyll you will need to have:
-
Ruby installed on your computer. You can check if you have Ruby by opening up your command line and running
ruby -v. If you have version 2.5.0 or above you are good. -
Ruby Gems installed which you can check using
gem -v
The only 'difficult' part of Jekyll is the setup. If you pass the checks above you should be able to install Jekyll by running gem install jekyll bundler it should be smooth sailing from here.
However, If you want step by step instructions on installing Jekyll please see the official documentation.
Create the site
Now that you have Jekyll installed, create a directory and enter it. I called mine PracticeBlog.
Once inside of the directory (cd PracticeBlog), run bundle init via the command line. Remember that we won't be using the default Jekyll theme and instead will be doing everything from scratch.
This will create a Gemfile which you will use to specify that Jekyll is a dependency.
Open the Gemfile and include Jekyll in the Gemfile by writing gem "jekyll".
The Gemfile should look something like this
# frozen_string_literal: true

source "https://rubygems.org"

git_source(:github) {|repo_name| "https://github.com/#{repo_name}" }

gem "jekyll"

# gem "rails"
In order to install the Jekyll dependency that we just specified, run bundle in the command line.
Now, you will be able to run bundle exec jekyll serve to build and serve your site. So every time you make a change now you will be able to refresh the browser to see the changes.
Create the homepage
Let's continue with the site. Create an index.html file in the root. This will be the home page of your website.
We will have a very simple homepage with just a nav bar and a list of the latest blog posts (we will be replacing the hardcoded blog post later on with the posts we actually write)
It will be roughly the format below.
<!DOCTYPE html>

<html lang="en">
  <head>
    <meta charset="UTF-8" />

    <meta name="viewport" content="width=device-width, initial-scale=1.0" />

    <title>Ed's Blog</title>
  </head>

  <body>
    <header>
      <nav>
        <a href="/"
          ><h1>
            👊 Ed Ruiz
          </h1>
        </a>

        <div class="menu-links">
          <a href="#">Newsletter </a>

          <a href="#">Resources </a>
        </div>
      </nav>
    </header>

    <section class="blog">
      <div class="container">
        <div class="blog-container">
          <div class="title-excerpt">
            <h2><a href="#">First Post</a></h2>

            Lorem ipsum dolor sit amet consectetur adipisicing elit. Nisi,
            expedita?
          </div>

          <div class="date-categories">
            <div class="categories">
              <div class="category">
                Jekyll
              </div>
            </div>

            <div class="date">
              <p>Apr 21, 2020</p>
            </div>
          </div>
        </div>
      </div>
    </section>
  </body>
</html>
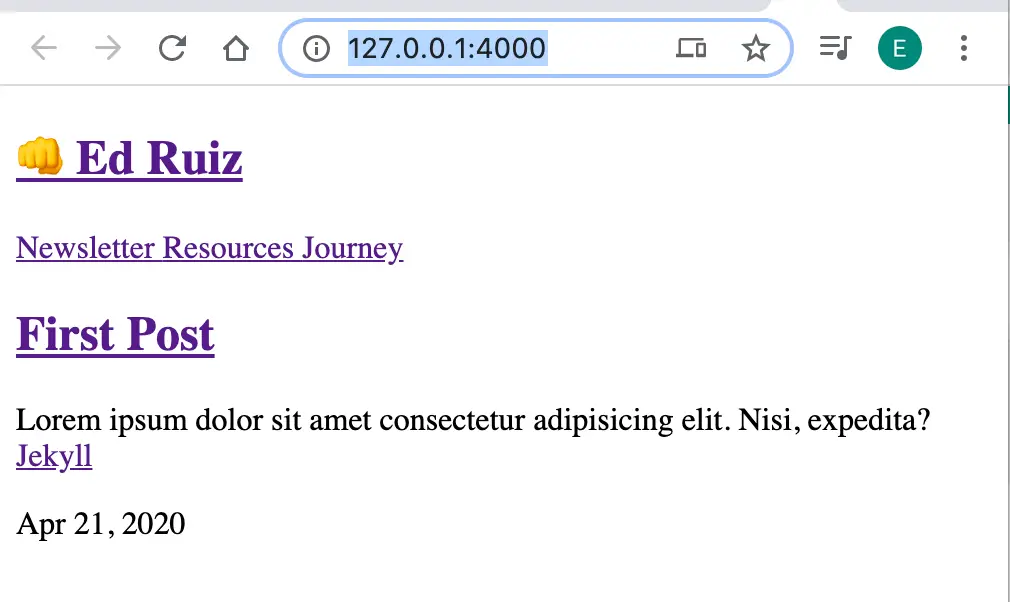
If you run bundle exec jekyll serve you will be able to see your site on the browser ( http://127.0.0.1:4000/ for me but check what the terminal says for your site). This command compiles your site into a directory called /_site which you will never have to touch. Every time you make a change you can refresh the browser to see the changes.
The homepage should look like this (of course update the titles and anything you want to your liking):
Adding Styles (Sass)
Now we want to add styles to our blog. We will use Sass. To do this create the following folders and add the Sass file at /assets/css/styles.scss. Inside styles.scss add the following:
---

---

@import "main";
We will learn more about the three dashes --- shortly but for now, know it is something called front matter that tells Jekyll to process the file.
@import "main" means that Jekyll will look for a main.scss file in a directory called /_sass.
So let's do that now. In the root create a directory /_sass and then make a main.scss file inside.
Inside the /_sass/main.scss file let's write some simple styles:
a {
  color: black;

  text-decoration: none;

  margin: 5px;

  padding: 5px;
}

header {
  nav {
    display: flex;

    align-items: center;

    justify-content: space-between;
  }
}

.blog {
  background-color: white;

  padding-top: 2rem;

  .container {
    max-width: 900;

    .blog-container {
      margin: 15px auto;

      max-width: 700;

      display: grid;

      grid-template-columns: 4fr 1fr;

      grid-gap: 1rem;

      padding: 20px 15px;

      border-radius: 5px;

      align-items: center;

      justify-content: center;

      .title-excerpt {
        h2 {
          font-size: 2rem;

          margin-bottom: 1rem;
        }

        p {
          font-size: 1.1rem;
        }

        a {
          color: black;
        }
      }

      .date-categories {
        .categories {
          .category {
            font-size: 0.7rem;

            text-transform: lowercase;

            display: inline-block;

            margin: 2px;

            background-color: coral;

            margin-bottom: 1.5rem;

            color: white;

            padding: 5px;
          }
        }
      }
    }
  }
}
Now let's go back to the index.html and include the styles sheets in the head using:
<link rel="stylesheet" href="/assets/css/styles.css" />
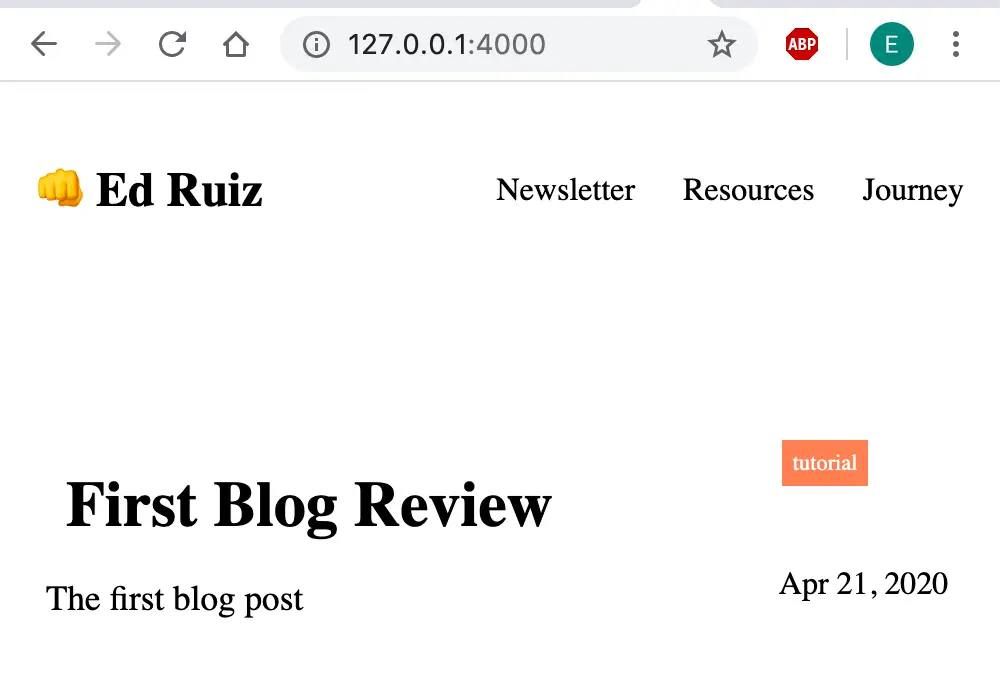
The styles should now be applying to the site. Refresh the browser and the page should now look something like this.
The way it works is Jekyll generates the styles.css from the assets/css/styles.scss which is importing the main.scss file from the /_sass directory.
Create the first blog post.
In Jekyll, blog posts live in a folder called /_posts. So create that directory in the root. Filenames for posts have a specific format: the publish date, followed by the title, followed by an extension, all words separated by dashes.
Create your first post /_posts/2020-05-03-first-post.md.
Inside this file add the following:
---

layout: post

author: Edgar

title: First Blog Review

categories: [tutorial]

permalink: /first-blog-post

---


The first blog post
The text between the --- is called front matter and it is in YAML format.
What you need to know is Jekyll uses this front matter to set variables. For example, we are specifying our permalink so if you go to http://127.0.0.1:4000/first-blog-post you will see the post. We are also specifying the author, title, and categories.
Another important thing to note here is the layout: post.
This means we are using the post layout.
We have not yet created this layout and so let's do it now.
Creating Layouts
Create a new folder called /_layouts under the root. Create 2 files: default.html and post.html.
Let's first create the default layout and then we will work on the post layout.
The default layout is a layout you will use on all your pages. This will be things that usually don't change. Stuff like everything inside the head tags, your navigation menu, your footer.
Since a typical website has more than one page, you don't want to keep repeating the same boilerplate code over and over again and so for this reason you use layouts.
Copy everything from the index.html into the /_layouts/default.html file.
Replace the current title with <title>{{ page.title }} | UHD Ed</title> . Now when you set the title in the pages that use this default layout, it will dynamically replace {{page.title}} with the title you set. This is thanks to 'liquid' which I will explain shortly.
Next, delete everything inside section class="blog" including the section iteself and replace it with {{content}} . content is a special variable that gets replaced by the content of the page it’s called on.
Liquid
The {{ }} represents a Liquid Object. Liquid is a templating language that Jekyll uses to have if statements, for loops, output objects, use filters, etc.
We will be using a lot of the Liquid features in this guide and I will point them out as we go along.
The /_layouts/default.html should now look like this.
<!DOCTYPE html>

<html lang="en">
  <head>
    <meta charset="UTF-8" />

    <meta name="viewport" content="width=device-width, initial-scale=1.0" />

    <link rel="stylesheet" href="/assets/css/styles.css" />

    <title>{{page.title}}</title>
  </head>

  <body>
    <header>
      <nav>
        <a href="/"
          ><h1>
            👊 Ed Ruiz
          </h1>
        </a>

        <div class="menu-links">
          <a href="#">Newsletter </a>

          <a href="#">Resources </a>

          <a href="#">Journey </a>
        </div>
      </nav>
    </header>

    {{content}}
  </body>
</html>
Now go back to the index.html. Delete everything except for everything inside the <section class="blog"> tag.
Next, we will use front matter to include variables and specify which layout to use.
Front Matter
As mentioned earlier, front matter goes between an opening --- and a closing --- at the start of the file. You can set custom variables here or pre-defined variables (such as a permalink, the layout).
In the front matter we will include the title and the layout. index.html file should look like this:
---
layout: default

title: Ed Ruiz - Web Developer
---

<section class="blog">
  <div class="container">
    <div class="blog-container">
      <div class="title-excerpt">
        <h2><a href="#">First Post</a></h2>

        Lorem ipsum dolor sit amet consectetur adipisicing elit. Nisi, expedita?
      </div>

      <div class="date-categories">
        <div class="categories">
          <div class="category">
            <a href="#">Jekyll</a>
          </div>
        </div>

        <div class="date">
          <p>Apr 21, 2020</p>
        </div>
      </div>
    </div>
  </div>
</section>
If you refresh the browser, everything should still look exactly the same. This is because everything inside index.html is replacing {{content}} which is inside the default.html layout.
Now let's create the post layout. Open up the /_layouts/post.html file and use the below
---
layout: default
---

<div class="blog-post">
  <div class="container">
    <h1>{{ page.title }}</h1>

    <p class="author-date">
      {{ page.date | date_to_string }} - {{ page.author }}
    </p>

    {% for category in page.categories %}

    <span class="cat">{{category | join: " "}}</span>

    {% endfor %}

    <div class="content-body">
      {{ content }}
    </div>
  </div>
</div>
The front matter says that the post layout will be using the default layout. This means the default layout will wrap everything inside of the post layout which will wrap every post.
Inside the post layout we are using a few interesting Liquid tags and filters. {{ page.date | date_to_string }} is using the page object to get the date. Then the date is being turned into a string using the liquid date_to_string filter.
In order to get the categories we are using the for loops {% for .. %} .. {% endfor .. %} liquid tags to loop through the categories (specified in the post's front matter). To learn more about Liquid please see Liquid.
The /_posts/2020-05-03-first-post.md file we created earlier specifies that we are using the layout: post, so open up http://127.0.0.1:4000/first-blog-post and you will see the post.
Style the Post
Go inside the /_sass/main.scss file and add the following:
.blog-post {
  text-align: left;

  padding: 2rem;

  h1 {
    color: black;

    font-size: 3.5rem;

    margin-bottom: 1rem;
  }

  .author-date {
    font-size: 1rem;

    color: #777;

    text-align: left;
  }

  .cat {
    font-size: 0.7rem;

    text-transform: lowercase;

    display: inline-block;

    margin: 1rem 0;

    background-color: coral;

    margin-bottom: 1.5rem;

    padding: 5px;

    color: white;

    a {
      display: inline-block;

      color: white;

      padding: 5px;
    }
  }

  .content-body {
    margin-top: 2rem;

    p {
      font-size: 1.3rem;

      line-height: 1.7rem;

      margin-bottom: 3rem;
    }

    a {
      text-decoration: underline;
    }
  }
}
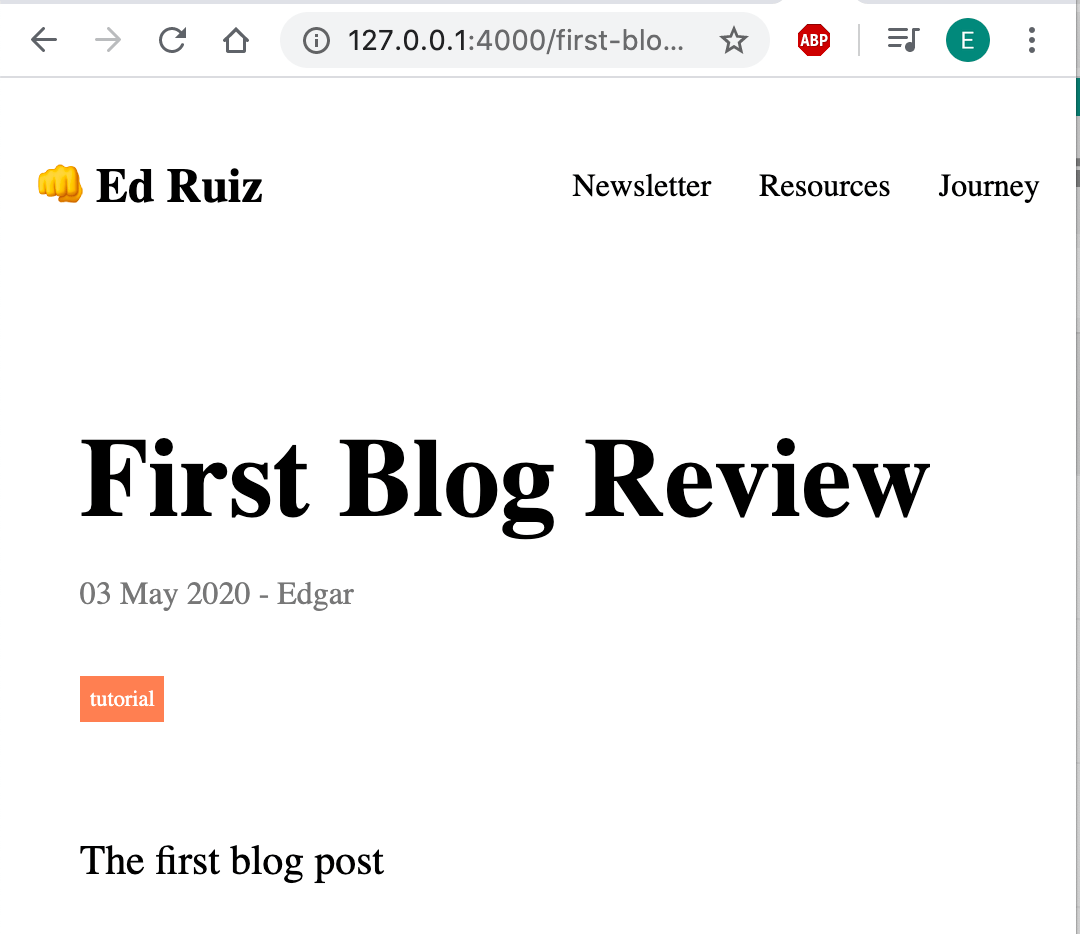
Refresh the post and it should look like this
Dynamically get the blog posts in the index page
Now we can get the blog post (and all future blog posts we write) dynamically in the index page.
To do this go to the index.html page and replace the <div class="blog-container"> and everything inside it with
{% for post in site.posts %}

<div  class="blog-container">

<div  class="title-excerpt">

<h2><a  href="{{ post.url }}">{{ post.title }}</a></h2>

{{ post.excerpt | truncate: 100 }}

</div>

<div  class="date-categories">

<div  class="categories">

{% for category in post.categories%}

<div  class="category">

{{ category }}

</div>

{% endfor %}

</div>

<div  class="date">

<p>Apr 21, 2020</p>

</div>

</div>

</div>
{% endfor %}
With this { % for %} loop (thanks to liquid) we cycle through all the posts and output them out to the home page.
The home page should now look like this:
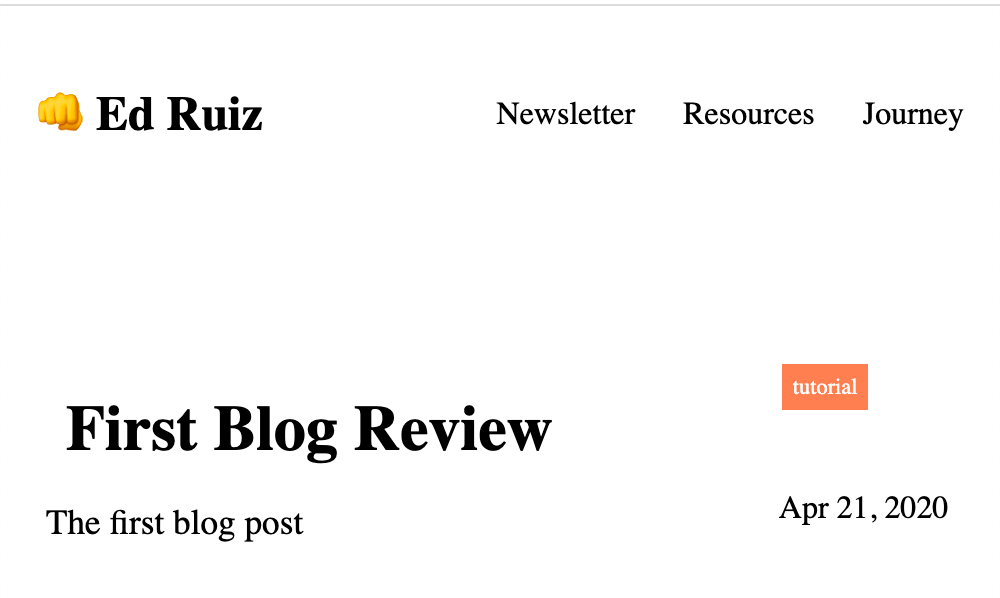
You should now have a working index page that links out to your posts.
The next step is to add everything to github and deploy to netlify.
Github
In the root of your project add a .gitignore file and add the following:
_site/

.sass-cache/

.jekyll-cache/

.jekyll-metadata
Now create a new Repository in Github. I made mine private but you can make it either public or private.
Then follow the steps to create a new repository on the command line. Add all the files, commit them, then push it to github.
Now that all your files are on github, let's create a Netlify account.
Netlify
Create a Netlify account and then select Create a site from Git. Since I made my repo private I have to click on Can’t see your repo here? Configure the Netlify app on GitHub. and find the repo.
Select the repository.
Leave the branch to deploy as Master. I leave the build command as jekyll build and the publish directory as _site/. As I mentioned before everything in Jekyll gets compiled into that folder.
Finally, click on deploy site. If everything goes well after a few minutes you should have your site live on the internet. Here is the site we have been building.
The way deployment works is by the github integration. Every time you push a change to the master branch it automatically gets deployed and the change appears live thanks to Netlify.
Custom Domain
Now finally let's add a custom domain. For this example, I am using namecheap (affiliate link) however the steps should be the same for any domain registrar you use.
First in Netlify - click on Set up a custom domain. Type in your domain. Netlify will ask you if that domain already has an owner - click Yes, add domain. Netlify should show you the following:

Now let's configure the dns settings. Go to your namecheap dashboard and click on 'manage' next to your domain name.

Next click on the Advanced DNS tab.
Now click Add new record.
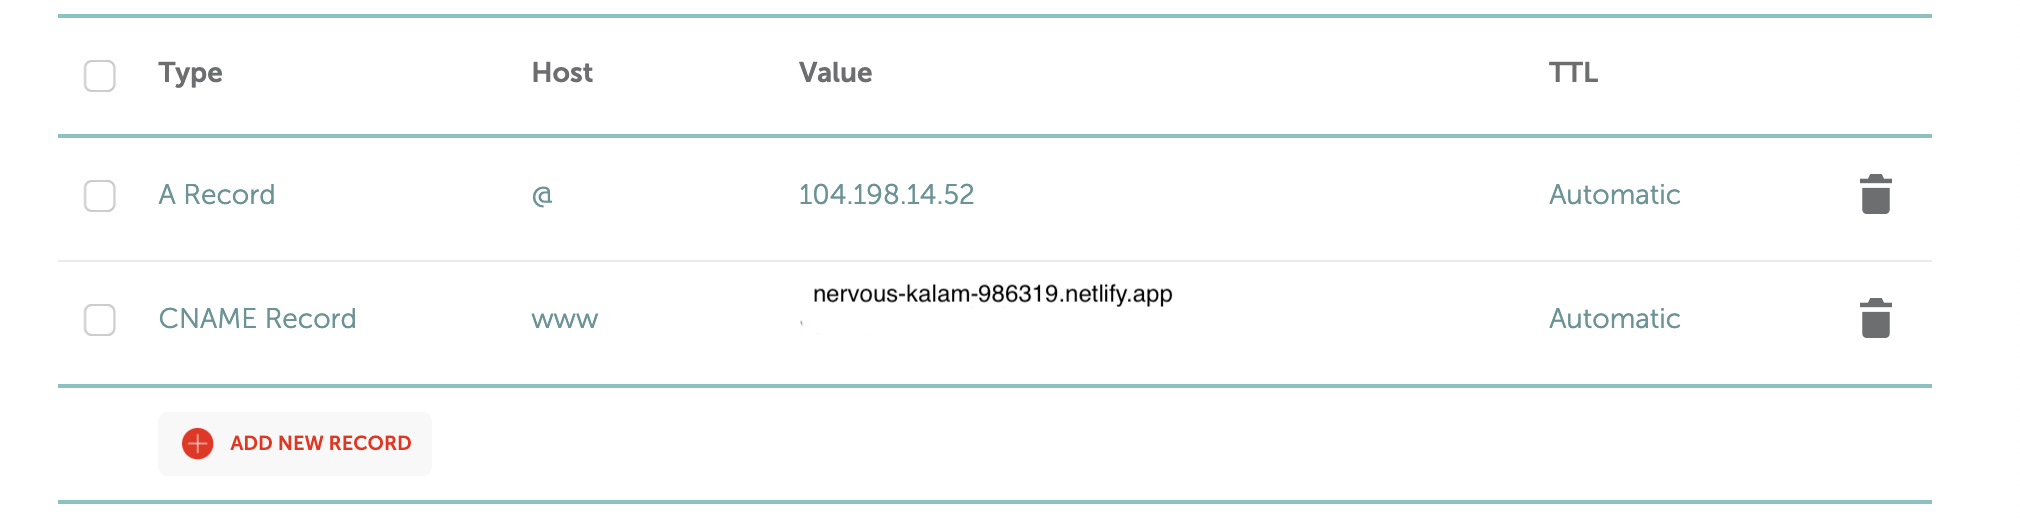
Enter the following:
type: A Record
host: @
value: 104.198.14.52
The TTL will remain automatic.
Now we will add the C Name
Enter the following:
type: C Name
host: www
value: Enter the custom domain that Netlify provides. For example mine was: nervous-kalam-986319.netlify.app
The TTL will remain automatic.
It should look something like this:
It can take a couple of hours for everything to propagate. Go to Settings -> domain management in Netlify and it should now look like
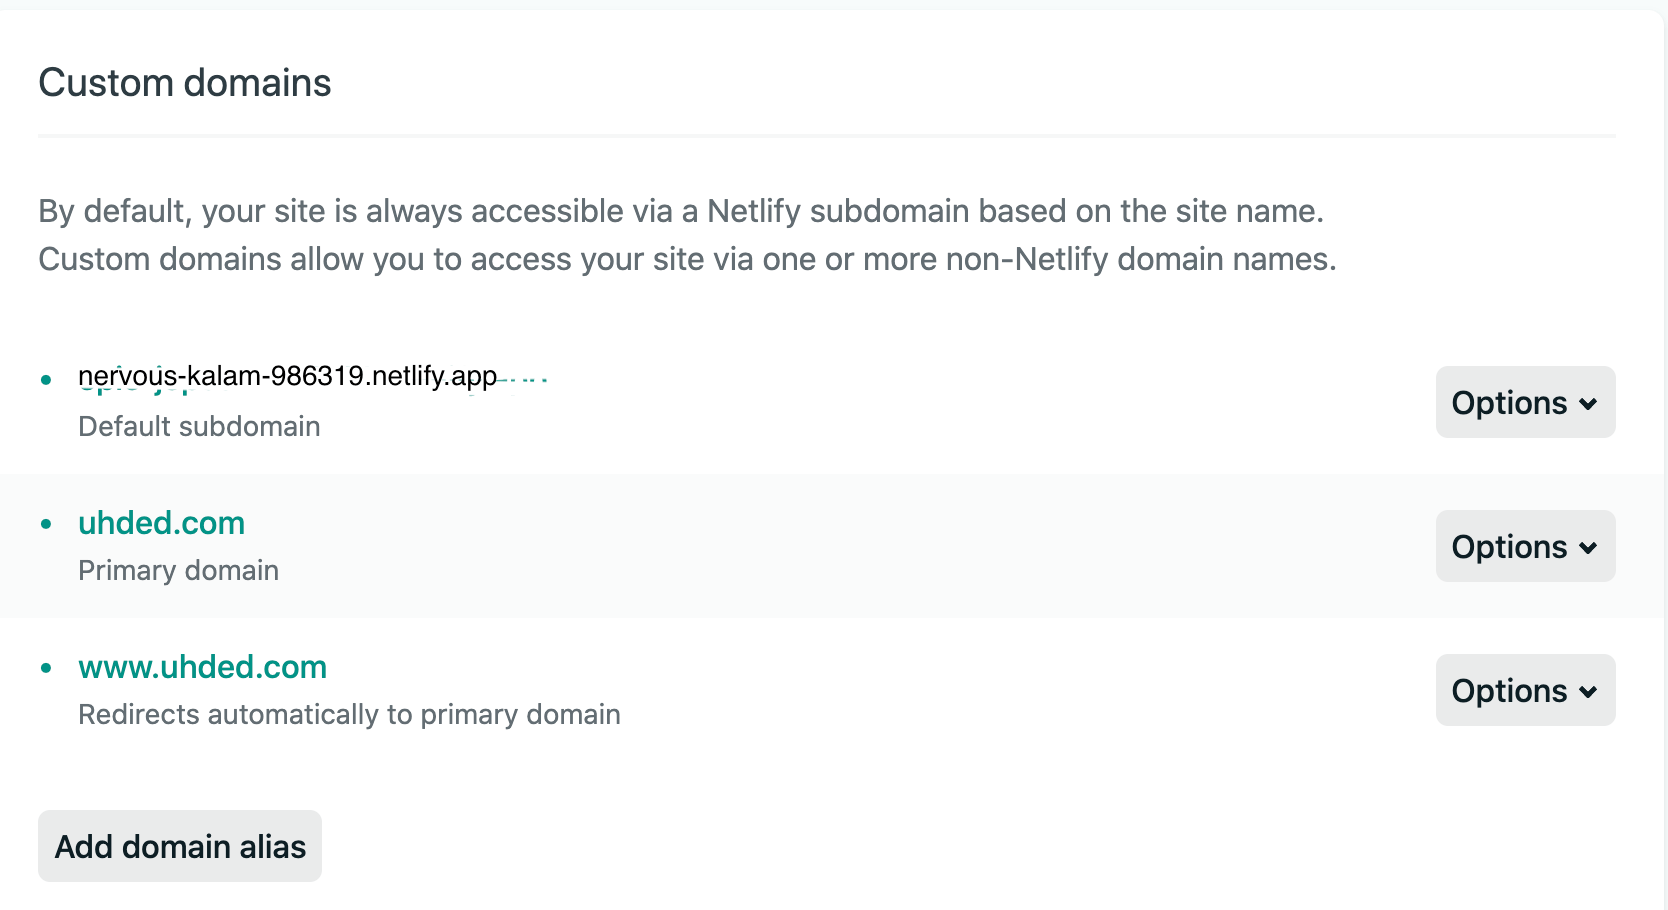
The HTTPS should now be working. This is provided by Netlify all for free. Please note it is possible to take 24-48 hours according to Netlify. If the SSL certificate isn't working try clicking renew certificate under Settings -> Domain Management.
Whats next?
Thanks to Netlify you can also add forms to the website. You get 100 free submissions with Netlify each month.
You can also use a free CMS like Forestry if you are making sites for clients and want them to have a nice interface. I will have guides on this soon.
I will be writing many more jekyll tutorials so stay tuned.